
Undoubtedly, a cracked screen is one of the most common reasons a smartphone ends up on a repair bench. A simple drop can affect touch sensitivity, damage the outer glass, or completely smash the display assembly. While some minor cracks may look superficial, hidden damage beneath the surface can impact the phone’s usability and performance in the long run. Fixing a cracked screen requires precision, the right repair tools, and a workflow built on experience.
Whether you are a refurbisher, phone repair technician, or someone researching how to fix a cracked phone screen, understanding the professional repair process helps you make better decisions about screen replacement and repair quality.
How to Assess a Cracked Phone Screen
Before any repair, phone screen assessment is the first thing. As not all cracks are the same, misreading them can result in the waste of replacement parts. So, here are some crucial inspection points:
- Cracked outer glass: Spiderweb cracks on the surface with normal image quality and touch response mean only the top glass is compromised.
- Damaged LCD: Visible decoloration, black spots, bleeding ink-like patches, or horizontal/vertical lines confirm a damaged LCD panel under the glass.
- Broken OLED panel: Color shifting, dark patches, partially blacked-out screen, or flickering indicates the OLED panel is cracked.
- Touchscreen failure If the surface glass looks intact, but the phone shows ghost touch, unresponsive zones, or delayed input, it means the digitizer layer is damaged. Internal display issues
In case of display issues due to loose connectors or a damaged flex cable, it is important to inspect the phone internally as well because panel failure is the most common interpretation in this case.
Diagnostic checklist:
- Is the touchscreen fully responsive in every corner?
- Are there any flicker, dark spots, or discoloration?
- Does the display show dead zones, lines, or bleeding?
- Does the issue persist after a soft reset?
If the answer to questions 2–4 is yes, a full display assembly replacement is needed. If the screen passes all checks aside from visible glass cracks, a glass-only repair may be sufficient.
Professional Tools for Cracked Phone Screen Repair
Reliable cracked phone screen repair depends on having the right repair tools on hand. Below are some professional tools commonly used in cracked phone screen repair:
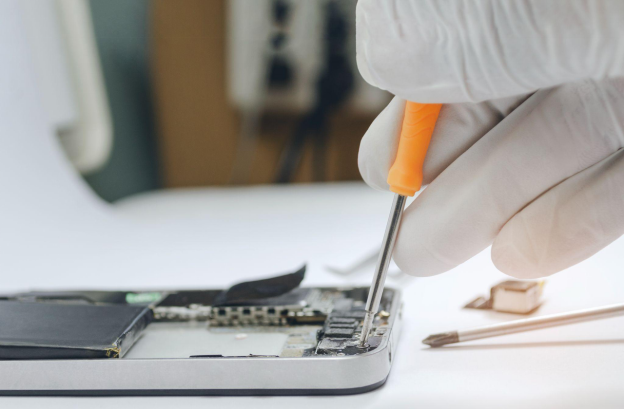
- Precision screwdriver set It handles the small screws without stripping them.
- Heat gun or heat plate It softens the factory display adhesive and allows cracked screens to be lifted easily without any further damage.
- Suction cup It creates the initial lift needed to separate the display assembly from the frame.
- Plastic opening picks These release clips and adhesive around the edges without abrading the housing.
- Metal spudger It is used in specific spots where plastic tools can’t get enough leverage.
- Tweezers Allow precise disconnection and reconnection of delicate connectors and ribbon cables.
- Display adhesive Restores the seal between the screen and frame.
- ESD wrist strap Protects sensitive internal circuitry from electrostatic discharge during handling.
- Display tester Verifies color output, touch accuracy, and brightness on a replacement display before it’s permanently installed.
- Multimeter Checks continuity and voltage on the board when a display issue might be electrical rather than physical.
- UV adhesive Used on devices requiring a UV-cured seal for proper water resistance and edge bonding.
Each tool is significant to reduce damage risks at different stages of repairing. That is why superseding improvised tools could be one of the biggest reasons for failed repairs.
How to Fix a Cracked Phone Screen
Choosing the right replacement display depends on the device model and customer expectations. Here is the step-by-step guide for a professional repair workflow:
- Power off the phone. It reduces the risk of data corruption and short circuits.
- Remove the SIM tray and screws. This gives access to the housing while protecting the SIM card.
- Heat the adhesive. Controlled heating softens the bond without overheating adjacent components.
- Carefully separate the display. It can be done via plastic picks and a suction cup; lift the screen slowly, so it won’t impact internal cables.
- Disconnect the battery before removing the screen. It’s a crucial safety step.
- Install the new display. The replacement display, whether OEM or premium aftermarket, is aligned precisely and connectors are reseated without bending pins.
- Test display and touch functionality. Before resealing, check the screen for full touch response, color accuracy, and brightness.
- Reassemble the phone.
- Perform final quality checks. This last round of testing confirms everything works before the device is handed back.
Common Mistakes During Cracked Phone Screen Replacement
Don’t overlook these details:
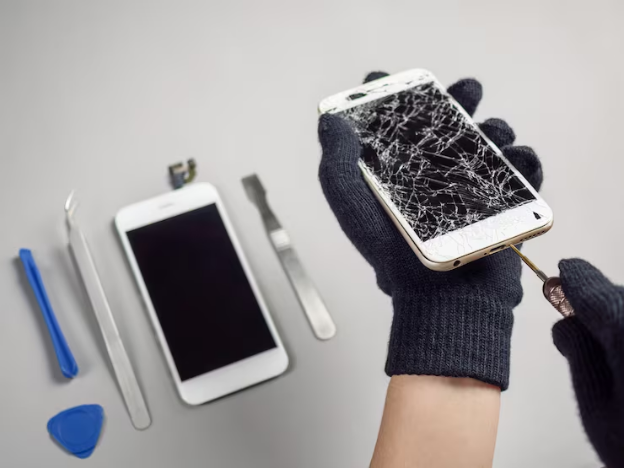
- Overheating the display: It can permanently damage the panel or adhesive bonds.
- Damaging flex cables: Too much force on connectors or the wrong pulling angle can cause a “dead” replacement screen.
- Forgetting to disconnect the battery: Increases the chances of a short circuit during screen removal.
- Using incorrect adhesive: The wrong adhesive type can fail to hold the screen for a longer time, and it can also compromise water resistance.
- Reusing damaged waterproof seals.
- Installing low-quality replacement screens: It is the most grave mistake that can vandalize all the repair effort. Always source screens from reliable suppliers to avoid any repair failure.
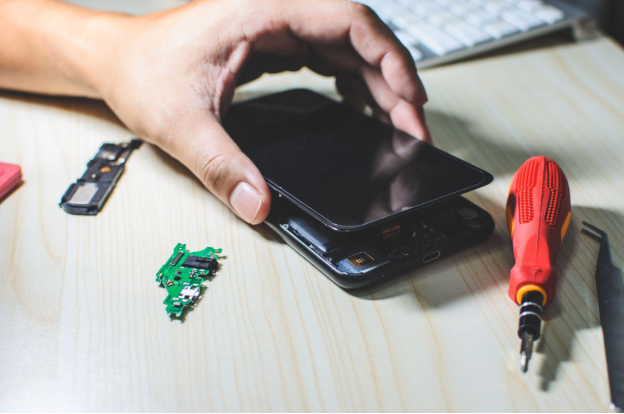
Professionals always follow a consistent repair workflow to avoid these issues. They prefer calibrated heat tools and source tested replacement display units rather than the cheapest available option.
Important: If a phone has severe motherboard damage or extensive water damage, replacing the device may be more economical than replacing the screen alone.
Conclusion
Whether the repair requires a Hard OLED, LCD replacement, OLED replacement, In-Cell display, or Soft OLED, selecting reliable components is essential for device functionality, responsive touch, long-lasting performance, and customer satisfaction. Each technology differs in brightness, flexibility, durability, repair complexity, and cost. Repair businesses can improve their operational efficiency and minimize warranty claims by sourcing repair parts from trustworthy sellers.At SQLCD, we understand the needs of refurbishment businesses, repair professionals, and wholesalers. Our range of high-quality replacement displays is designed to deliver consistent performance across a wide variety of smartphone models.